Solve trying to pop to a missing destination in SwifUI
You might have come across this strange "trying to pop to a missing destination" error message in the console whilst debugging your app in Xcode:
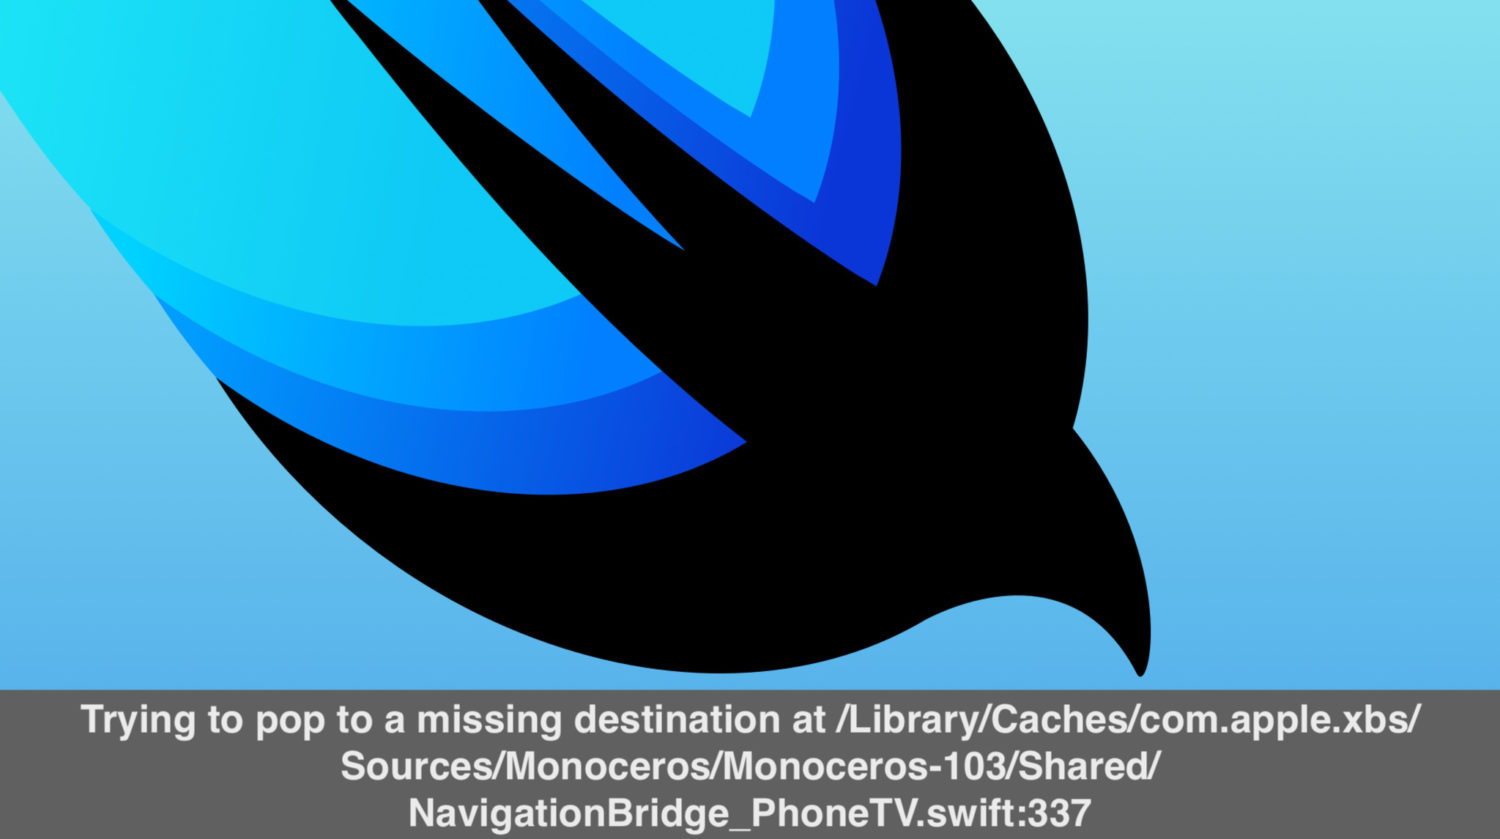
Trying to pop to a missing destination at /Library/Caches/com.apple.xbs/Sources/Monoceros/Monoceros-103/Shared/NavigationBridge_PhoneTV.swift:337
This issue apparenty arises when a NavigationView contains a TabView, and one or more of the tabs contain a NavigationLink: after having used the latter NavigationLink, using the Back button will trigger the error above.
This is the kind of setup you wish to have when you want to use a NavigationLink to navigate to a subview, and you want the latter to open on top of the TabView (covering it), thus using a Back button to dismiss the subview and come back to the original TabView, as you may see from this example:
Reproducing and identifying the Monoceros issue
"Trying to pop to a missing destination" issues is too wordy, so from now one I'll call it the Monoceros issue. 🦄
Trivia: Monoceros means "unicorn" in latin, but it's also the name of a constellation
Below is the code of our example. Feel free to run it to reproduce the Monoceros issue yourself.
import SwiftUI
struct ContentView: View {
    var body: some View {
        NavigationView {
            TabView {
                FirstView()
                    .tabItem {
                        Text("House")
                        Image(systemName: "house.fill")
                    }
                Text("Page Two")
                    .tabItem {
                        Text("Star")
                        Image(systemName: "star.fill")

                    }

            }

        }

    }
}
struct FirstView: View {
    var body: some View {
        NavigationLink("Go to the Second View", destination: SecondView())
    }
}
struct SecondView: View {
    var body: some View {
        Text("This is the Second View!")
    }
}
struct ContentView_Previews: PreviewProvider {
    static var previews: some View {
        ContentView()
    }
}
Let's start by saying that if you did it the other way around and put your NavigationView inside the TabView, you wouldn't get the error, but this of course would always show the tabs of the TabView, even after you clicked on your navigation links, which is probably what you are trying to avoid. You may see this from example below:
You would be able to reproduce the above using the below code for your ContentView:
struct ContentView: View {
    var body: some View {
        TabView {
            NavigationView {
                FirstView()
            }
            .tabItem {
                Text("House")
                Image(systemName: "house.fill")
            }
            Text("Page Two")
            .tabItem {
                Text("Star")
                Image(systemName: "star.fill")
            }
        }
    }
}
Fixing the Monoceros issue
In another kind of scenario, we would be able to hide the TabView by using:
UITabBar.appearance().isHidden = true
But this is currently only an option only if the TabView is not placed inside a sub-view.
So, it appears in SwiftUI we currently have no work-around for this!
But you came here for a solution, and a solution is what you'll get.
Let's say, however, that the Monoceros error should not necessarily cause any functionality issue. It shouldn't undermine the stability of your app and should not prevent you from publishing it on the App Store. If you've tested your app thoroughly, you should be okay, however, there have been some reports of unexpected behavior when a TabView is placed inside a NavigationView (for instance, your navigation title not appearing correctly).
With the above considered, you should consider proceeding and apply the solution below if you are expericing said problems or maybe if you are a bit of a perfectionist, and can't sleep thinking of having some annoying error in the console whilst your app is running. All this, of course, until Apple will have properly implement the corresponding methodof .navigationBarHidden() to TabViews as well.
Implementing a custom TabView
By creating a custom TabView component, we will not get the Monoceros error and we will also be able to get rid of the possible abnormalities that occur when placing a TabView inside a NavigationView.
We will start by creating an enum containing all the tabs we'd like to display.
enum Tab {
    case house, star //Add all the tabs you want here: in my case only two
}
Therefore, we will create the TabView struct, linking a @Binding var to our enum. Inside our TabView, there's just going to be another View with some SwiftUI magic to recreate the appearance of an official TabView component: this will contain a Button for each of the tab we'd like to have, whose action has to set the @Binding var to the corresponding tab.
struct TabView: View {
    @Binding var tabIdx: Tab //Link this to your enum, in my case "Tab"

    var body: some View {
        HStack {
            Group {
                Spacer()

                //Create a button for each tab you've set in the enum

                Button (action: {
                    //Add an action to set our binding var to the corresponding tab
                    self.tabIdx = .house
                }) {
                    VStack{
                        Image(systemName: "house.fill") //Set the tab icon
                        Text("House") //Set the tab text
                            .font(.system(size: 10))

                    }
                }
                //Highlight the tab if active, change the tab name as necessary
                .foregroundColor(self.tabIdx == .house ? .blue : .secondary)

                Spacer()

               //////////////////
               // Just another button
               //////////////////

                Button (action: {
                    self.tabIdx = .star
                }) {
                    VStack{
                        Image(systemName: "star.fill")
                        Text("Star")
                            .font(.system(size: 10))

                    }
                }
                .foregroundColor(self.tabIdx == .star ? .blue : .secondary)

                Spacer()

               //////////////////
               // End of other button
               //////////////////

            }
        }
        //Set the styling to meet your requirements
        .padding(.bottom, 30)
        .padding(.top, 10)
        .background(Color(red: 0.8, green: 0.8, blue: 0.8))
        .font(.system(size: 30))
        .frame(height: 80)
    }
}
The FirstScreen tab may remain unvaried for the most, except we'll now need to specify font sizes.
struct FirstScreen: View {
    var body: some View {
        NavigationLink("Click here", destination: Text("Final Screen"))
            .font(.system(size:20))
    }
}
Finally, the ContentView shall have a @State var linked to the enum as well, and contain our NavigationView. Inside this we'll set an if block: this way, we'll show the desired content according to the value of the @State var. Might the value of the @State var change, the ContentView struct will be rebuilt and display the new content displayed accordingly. We will also initialise our TabView component, with its @Binding var being the value of the ContentView @State var.
struct ContentView: View {
    @State var tabIdx: Tab = .house

    var body: some View {
        NavigationView {
            VStack(spacing: 20) {
                Spacer()
                //Create an if-else-if block and add all the
                //possible tabs to it, wit
                if tabIdx == .house {
                    FirstScreen() //The content shown if we are in said tab
                } else if tabIdx == .star {
                    Text("Second Screen")
                }
                Spacer(minLength: 0)
                //Initialising our TabView
                TabView(tabIdx: self.$tabIdx)
            }
            .ignoresSafeArea() //Allows accurate reproduction of the TabView, which is anchored to the very bottom of the screen

        }
    }

}
Below is the complete and uncommmented code:
import SwiftUI


enum Tab {
    case house, star
}

struct TabView: View {
    @Binding var tabIdx: Tab

    var body: some View {
        HStack {
            Group {
                Spacer()

                Button (action: {
                    self.tabIdx = .house
                }) {
                    VStack{
                        Image(systemName: "house.fill")
                        Text("House")
                            .font(.system(size: 10))

                    }
                }
                .foregroundColor(self.tabIdx == .house ? .blue : .secondary)

                Spacer()

                Button (action: {
                    self.tabIdx = .star
                }) {
                    VStack{
                        Image(systemName: "star.fill")
                        Text("Star")
                            .font(.system(size: 10))

                    }
                }
                .foregroundColor(self.tabIdx == .star ? .blue : .secondary)

                Spacer()
            }
        }
        .padding(.bottom, 30)
        .padding(.top, 10)
        .background(Color(red: 0.8, green: 0.8, blue: 0.8))
        .font(.system(size: 30))
        .frame(height: 80)
    }
}

struct FirstScreen: View {
    var body: some View {
        NavigationLink("Click here", destination: Text("Final Screen"))
            .font(.system(size:20))
    }
}

struct ContentView: View {
    @State var tabIdx: Tab = .house

    var body: some View {
        NavigationView {
            VStack(spacing: 20) {
                Spacer()
                if tabIdx == .house {
                    FirstScreen()
                } else if tabIdx == .star {
                    Text("Second Screen")
                }
                Spacer(minLength: 0)
                TabView(tabIdx: self.$tabIdx)
            }
            .ignoresSafeArea()

        }
    }

}
Try to run the above code and you won't get the "trying to pop to missing destination" (Monoceros) error! :)
Did this fix work for you? In that case we're happy to have helped! Consider sharing if you think this will help somebody else! Might you have questions or would like to contribute to this tutorial, please leave us a comment! We'd be glad to update the post with your inputs and suggestions!